
So I bought a new jointer a few weeks ago. Its a mid-1950s 8" Delta with giant 1 HP General Electric motor residing in the cast iron bases pot belly. It is a penultimate jointer, in that it has dovetailed choices and a straight cutter head. My ultimate jointer will have parallelogram beds and a helix cutter head. Still, considering what I paid, this big old Delta it was a bargain and a big improvement over my old 6”.
 |
| Here is the beast, in all her fantastic, frustrating glory. |
As I’m starting work on a non-paying commission from my wife for her friend which will require jointing some thin and expensive boards I wanted to first tune up the jointer.
I began that process by watching Marc Spagnuolo’s Jointer Setup Video. It’s a very informative video, but as Marc has a parallelogram jointer, I found that though the theory is the same there were more differences than similarities in the technique he showed versus the one I had to use. The biggest difference I found was that Marc shows making all adjustments to the infeed table. While this works on a parallelogram jointer where cam wheels make permanent adjustments which are held as the bed is raised and lowered, it doesn’t work so well on jointer with dovetailed choices such as I have.
By reading Roland Johnshon’s excellent Tune Up Any Jointer article from the Tools & Shops 2013 issue of Fine Woodworking I learned that with when tuning up a jointer with dovetailed choices such as mine, you want to shim & adjust the outfeed table. The reason for this is that in use, the infeed table is the one you move and adjust up and down. The outfeed table is only moved during tune up and alignment. If you were to shim the infeed table, the shims would be prone to shifting and moving as the bed is adjusted up and down. Less movement means the shims will stay in place longer. Rolands article is behind their pay wall, but its certainly worth checking out if youre a member.
Before I could shim, I had to figure out how close to coplanar my beds were. I did this with a large Veritas straight edge from Lee Valley. It’s probably the one I would have used anychoice, but it was reassuring to see both Marc and Roland recommend the same straight edge.
 |
| Begin by loosening and re-tightening the gib screws. |
First I loosened the set screws which hold the gib and provide tension against the dovetail choice as Roland suggests. As this relieves tension in the beds, I did this for the infeed and outfeed beds. Unfortunately after resetting them, I still found that my beds were not coplanar.
Next, I adjusted my beds so that the infeed table was just barely higher than the outfeed and both were above the cutter head. With the straight edge clamped to the infeed table, I measured between the outfeed table and the straight edge at the four corners of the outfeed table (this requires moving and re-clamping the straight edge).
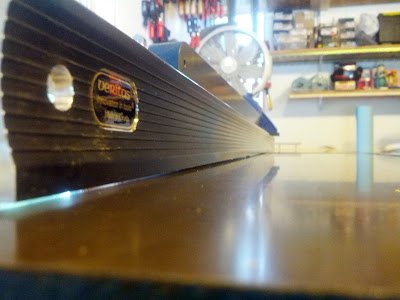 |
| Lots of light under the straight edge. |
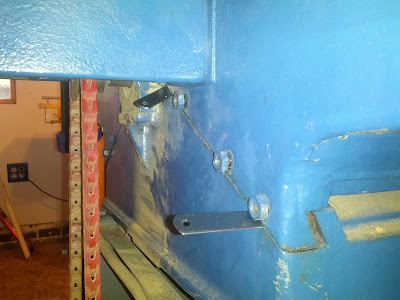 |
| More shims. She needs more shims! |


0 komentar:
Posting Komentar