Stewie has just finished this dt backsaw, the same of previous post but made whit a different wood. Enjoy it! Well this one is of the same design but I have used Makore as the handle wood. I have included some end grain photos of the handle so you get a better idea of the amount of work that goes into achieving a quality finish. That also goes with the shaping of the bevels on the brass hardback. It takes a lot of time to do this by hand and I sometimes curse the extra effort required, but it does add that extra flair to the final look of the saw. Stewie;
I was hoping to share this on the MWA Podcast this week. Alas, we didnt manage to record an episode (next week and the week after we will). In the mean time, I wanted to be sure to share two (2) great upcoming woodworking events.
Chirs current shop stool.
The first is Chris Wongs Shop Stool Build Off. Chris of Flair Woodworks is building a new shop stool and he has invited everyone to build along with him. You can read more about the build off here, on Chirs site. You can also follow the stool making madness live on twitter on Jaunary 25, 2014. Just follow the hash-tag #SSBO. Another great event coming up is the Furniture Project, February 21 -23 at the Seaport World Trade Center in Boston. The Furniture Project (formerly the FurnitureExpo) is a great event conceived to introduce custom furniture makers with a buying audience. It shares show space with the New England Home Show.
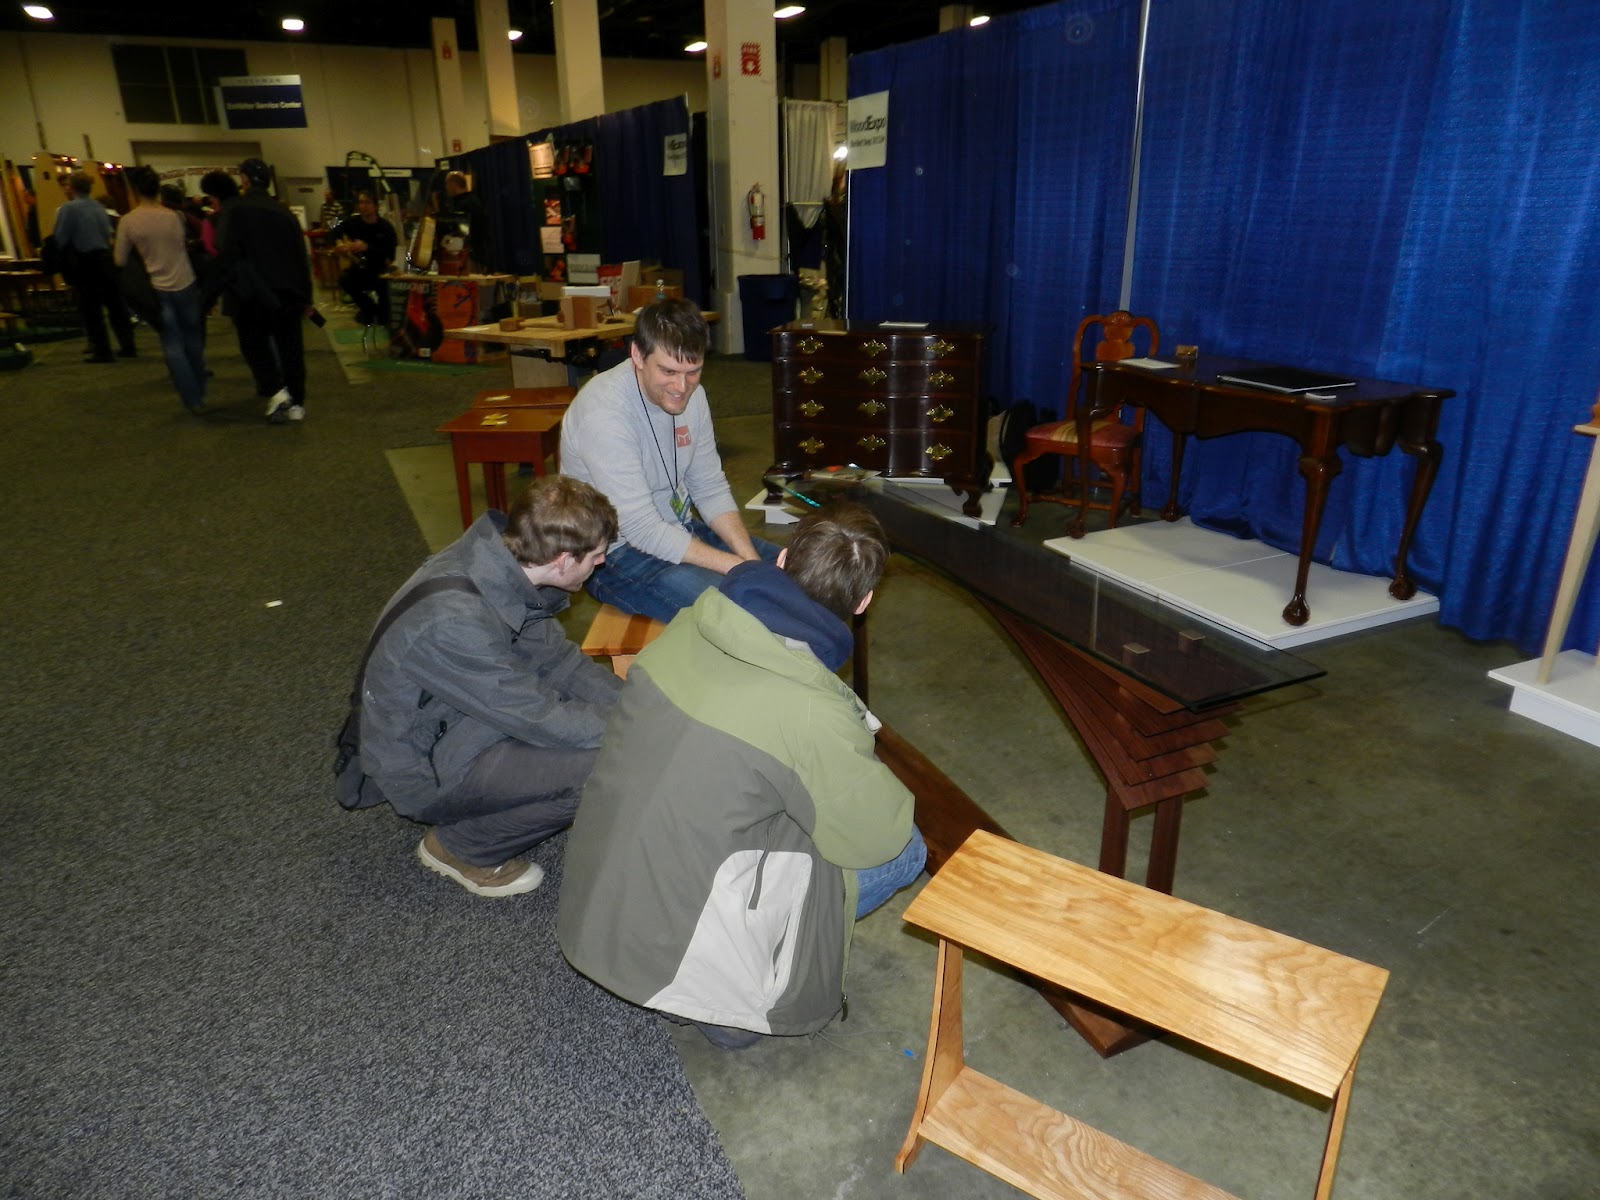
Show attendees admire Mortons table.
Each year the Furniture Project chooses a project and invites all furniture makers to make one and enter it for display. Accepted pieces are then shown at the Furniture Project. This year, the project is a Chimney Cabinet. The rules, available here, are minimal and allow for lots of creativity.
Jim Ashley, Michael McCoy & Chuck Bender at FurnitureExpo 2012
If youre anywhere near Boston, Id highly recommend attending the Furniture Project and even entering a Chimney Cabinet if you can. Ive attended before and friends such as Morton, Rusty and Rob Bois have displayed there. Its well worth attending. Dont forget about the +Modern Woodworkers Association Podcast. We talk woodworking with Guests from around the world of woodworking every other week. Subscribe to the RSS feed or iTunes today.Read More..
After keeping it in a drawer for several months, I finally decided to restore an old Sargent 507, a model really exclusive that Stanley never put into production. Its the block version of the most famous Stanley 10. The 507 is a plane designated for cutting rabbets, very handy and suitable for using it with one hand. Very well finished, it mount the blade in bevel up position, thicker if compared to that of classical Stanley block planes. Needless to say, not limited to finishing rabbets and tenons, it proves to be reliable and capable of fine shavings also in finishing whit the grain.
Over the past two (2) weekends Ive been able to get back out to the tree house. Though Ive only been able to get half-days in, I have managed to just about finish the sheathing.
The tree house, as it stood before the last two weekends work.
?
This video shows the sheathing of the gable ends, and all the frustration that entailed.
This shorter video shows an easier day of protecting the roof and sheathing the clearstory wall.
The next step will be to install the clearstory windows. The next two (2) weekends are just about spoken for, but hopefully Ill sneak in some window time too.
The sample Kalwall panels Im making the clearstory windows from.
I was able to go out and spend some time on the mallet yesterday and it is really starting to take shape. Like most of my projects this involved doing a lot of things for the first time. I removed the safety guards on the tablesaw for the first time (I made sure the kids were inside) and made a tenon on the tablesaw.
This is how the head started out looking.
I cut the end to make it uniform and then realized that the mitre saw was still set to 2 degrees from when I made the wedge from inside the mallet head.
Now the head is all squared up.
I set the tablesaw at a 15 degree angle to chop off the corners of the head.
Checking to make sure the angle was set up correctly.
I drew on the end of the head so that I could verify that the blade and the fence were setup correctly before I cut the corners off.
I placed the head on the end of the handle so I could mark how much to nibble off.
I used a spacer block to help avoid kickback. Thats what all the woodworkers on YouTube do so I figured that I would play it safe and do the same thing.
I cut a smaller section first to fine tune the fit before I did the whole section.
Just verifying the mark that I made earlier. I ended up starting on the top of the mark so that I could have a little bit sticking out of the top of the head.
Halfchoice there.
Checking to see how much I need to take off the sides.
I started on the inside and worked my choice out. I also took a file and smoothed out the tenon to get it to fit into the handle properly.
The handle is choice too big and square for my hand but it is starting to look like a mallet!
Now I just need to figure out how I am going to shape the handle.
The abrasive paper attached to a plan surface is a good choice to flatten soles of metal planes for significantly improving their performances. Usually I use spray glue that allows a valid bur reversible bonding so you can easily replace the abrasive when it is exhausted. The only drawback is the glue residue left on the glass plate that has to be cleaned with alcohol every time . An alternative choice is to use double-sided adhesive tape which provides excellent grip and when removed leaves no residue on glass and results in faster replacement operations .
If you cant find a full sheet of sandpaper wide enough then you could join two narrow strips togheter.
. The tape thickness is minimal and does not affect the flatness degree useful to obtain a good levelled surface.
I like to sand. I know that goes contrary to popular opinion, but I find sanding relaxing.The reason I like sanding is that I’ve stocked myself up with an arsenal of sanding paraphernalia that usually make it easy. My normal routine is to use a Festool random orbit sander connected to my CT22 dust extractor via my vacuum boom arm. The result is that sanding is usually a relaxing process. It could be a little monotonous, but listening to an entertaining podcast or book takes care of that. If you don’t have a decent vacuum and boom arm to connect to your sander, you really should. The less dust, the greater the sanding enjoyment.
This weekend I’ve had to leave my fancy set up behind and sand by hand. I’m making some wands (more on them in a future post), and there’s not a flat surface on them.The result has been lots and lots of hand sanding. I’ve used 3M Sandblaster sanding pads for the wands, and while I’ve been happy with the results, I’ve been hating the process. I now remember why so many of us hate sanding.How do you deal with sanding?
With my October Shop Tour coming so late in the month I chose to wait a few weeks so that at least the project in the shop would be new.
Here is November’s tour. You’ll see not much work on the shop has been done, but I do have a project on the bench. While I’m still eager to get more done on the shop, it’s nice to be in there building.
Dont forget about the +Modern Woodworkers Association Podcast. We talk woodworking with Guests from around the world of woodworking every other week. Subscribe to the RSS feed or iTunes today.
I was digging through photos the other day and found these that I had totally forgot that I had. In July of 2010 I was building a workbench in my garage. It was my first official woodworking project and my excuse to buy a miter saw. My 5 year old was helping me when he asked if he could have a workbench too so we made a quick trip to Home Depot and got some materials. We made it all out of 1×3’s and some hard board. My garage is pretty full so whenever I build anything I have to set my tools up in my back patio and part of the process is bringing his workbench and scrap wood box out there too. He loves collecting all the scrap pieces and then stacking them together and making “constructions”.
As its been sunny lately and the room I intend to use isnt quite ready, I have been using a scrap piece of kitchen worktop placed on the garden table as a makeshift bench to clean & sharpen up my tools.
I was considering using the same piece of worktop and maybe knocking together some rough saw horses for it to go across as a slightly more rigid bench solution. However, it seems I would still be wrestling with clamps holding more clamps to hold a work piece. While Im sure its doable its far from ideal - much like previously living on a boat!
I could try and build a bench myself, but lets face it with my skills and no other bench to build it on, Im not sure its going to be any better than the saw horse solution.
Therefore, after much deliberation and reading, I have decided that the best thing (for me) is to buy a beginner bench.
This bench at only £126 seems pretty cheap and despite a few poor reviews must be more sturdy than the other solutions, especially if I can butt it up against a wall. It includes two vices and other work holding devices. I dont think I could build anything better for the price.
A friend introduced me to Axminster Tools and it took less than 5 minutes to sign up and pay for this little beauty, with free next day delivery! While I dont expect it will be as solid or rigid as a professional bench, for the price I dont think it can be beaten as a beginner bench. If the woodworking bug really takes hold then obviously Id like to build my own full size bench at some stage but by then I would know what Im doing (hopefully) and probably wouldnt be working out of a tiny spare room.
Ok ... I said the Small Pine Chest was done ... Impatience!!!
In between working on a new project, I have gone back and fitted the hinges, improved the finish and made an addition to it, hopefully making it more of a finished piece and a lot more useful.
As this project was my warm up to dovetails and making my own tool chest, I decided to add a drawer or till to it. Nothing fancy just a simple butt jointed box that sits on two Oak side rails. As it stands this would make a nice little travelling tool chest. My no#6 plane fits in the bottom like a hand in a glove! In fact its probably a good thing that my large tennon saw doesnt fit as I have now out grown my small toolbox I made (what seems like) ages ago.
Instead its going to make someone a lovely Christmas present...
Anychoice, a few pics to really wrap this project up!
 Well this one is of the same design but I have used Makore as the handle wood. I have included some end grain photos of the handle so you get a better idea of the amount of work that goes into achieving a quality finish. That also goes with the shaping of the bevels on the brass hardback. It takes a lot of time to do this by hand and I sometimes curse the extra effort required, but it does add that extra flair to the final look of the saw.